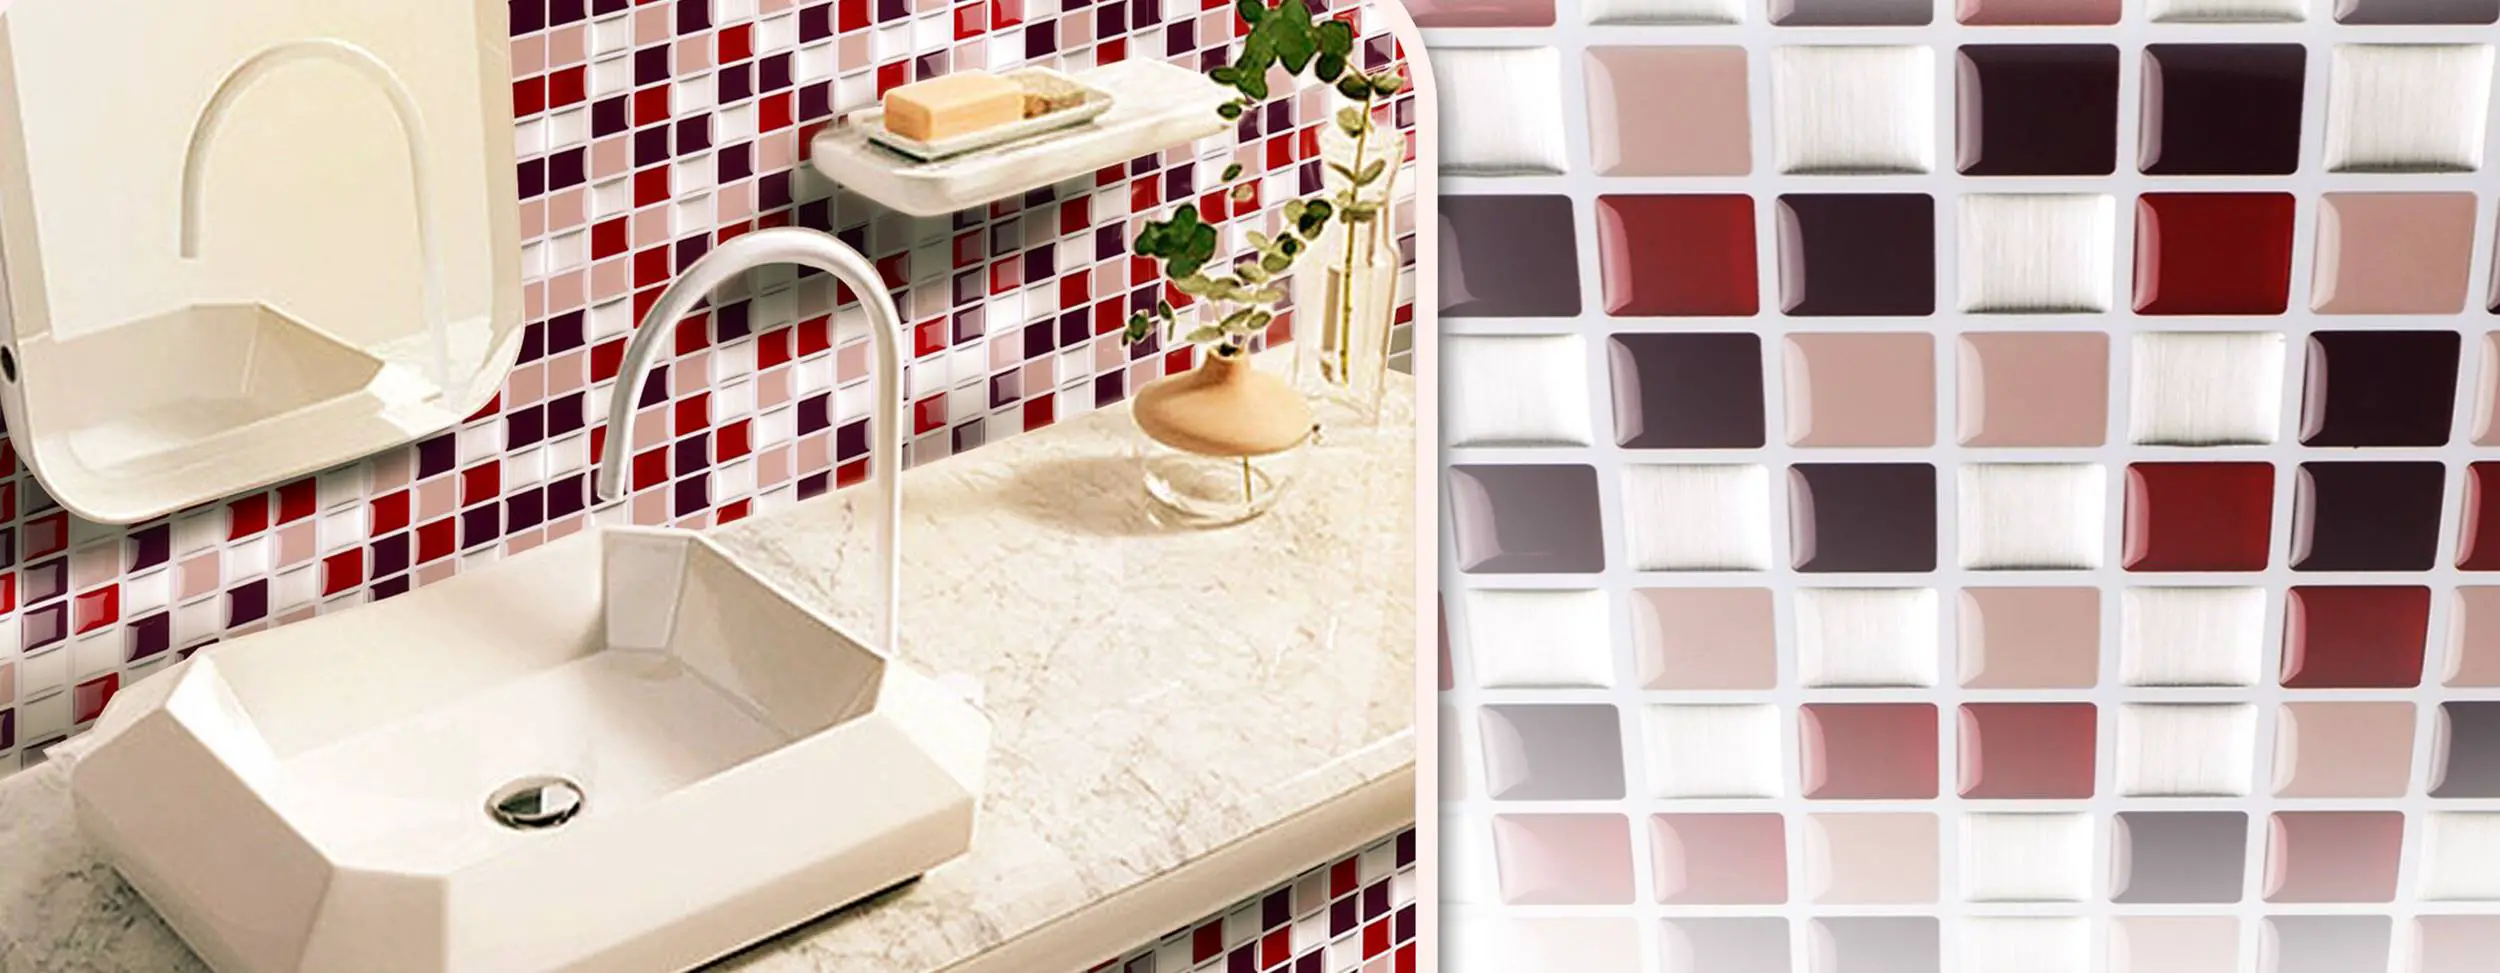
No matter what your budget may be, Peel and Stick Tiles are a great option for the kitchen and the bathroom walls. It’s affordable, durable and comes in a variety of styles.
What makes these tiles different?
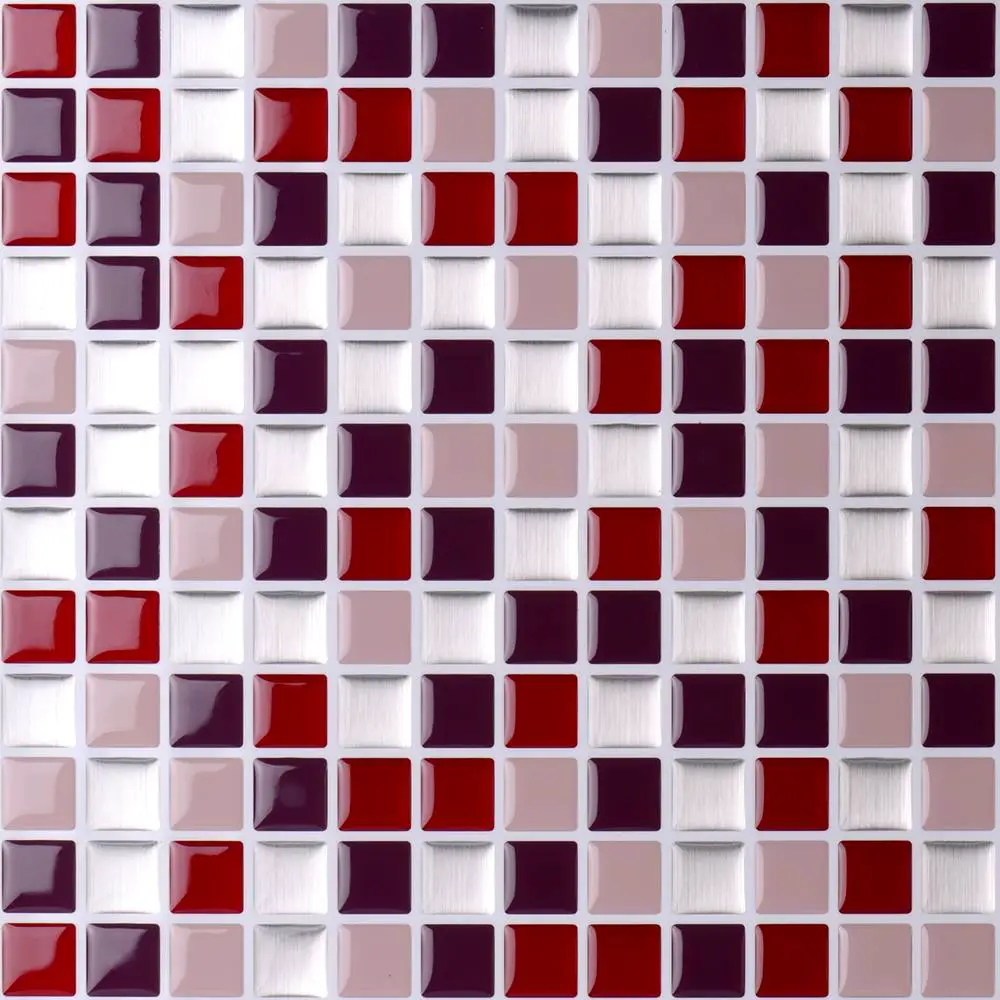
Unlike the normal tiles which are made of ceramic, glass, cork etc., The ‘Peel and Stick Tiles’ are made of a gel-type material with an adhesive substrate topped with a component called ‘o’ which gives its effect of originality. They are also highly resistant to dents, stain, and scuffs.
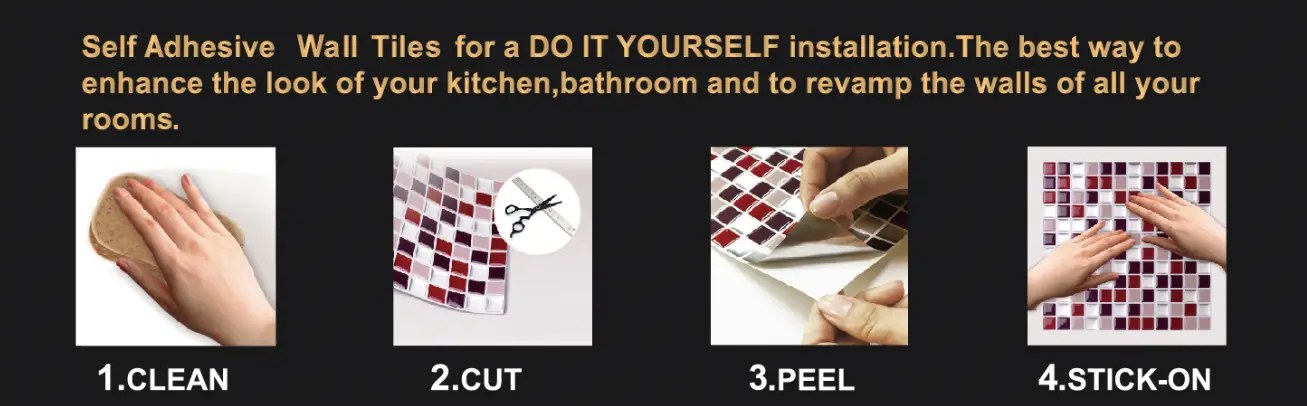
The Installation Process:
The ‘Peel and Stick tiles’, as the name suggests it has a peel and stick feature. It is a good product that makes the job of installation a little easier, which is why homeowners love it. It is important to point out that these tiles must be used in a temperature-controlled environment before, during and after installation. The tiles must be stored in the location for 48-72 hours prior to installation. Installation requires that the wall is repaired properly before laying the tiles, the adhesive is already on the back of the tile.
Step I:
The First step is surface preparation. These tiles can be installed over a variety of walls including concrete and plywood or sheet vinyl. No matter what the surface is, it must be free of old adhesive, moisture and dust. The outlet covers must be removed as well. It must be smooth before any type of installation. For porous walls like concrete or wood, a latex primer is required. The primer must dry completely before the installation begins.
Step 2:
With backing still on the tiles, begin mapping out the tiles. Start by identifying the center of the wall. Measure out the length and width of the wall and draw guidelines from the centre of each side of the wall using a chalk line. Use the intersection of the lines to find the center of the wall. This is a crucial step and it should be made sure that enough tiles are provided to finish the room and that all tiles are from the same lot and batch. Mixing tiles can cost visual inconsistencies.
Step III:
Third Step is Placing the Tiles. From the center out start to place the tiles. Avoid the space at the edge of the wall by adjusting the arrangement of the tiles. The edge should have a gap of fewer than 6 inches.
Step IV:
Peel the backings and apply tiles. Remove the backing from the first placed tile on the centre of the room press it down firmly. The next tile should be installed tightly against the edge of the initial tile. Install the remaining tiles in a step pattern, working one section at a time.
Step V:
Fix any end tiles. It is possible that the last tile in a row may need to be cut to fit. Trim the tile as much as needed using a measuring tape and a utility knife and test the template to ensure it fits and if it’s set, remove the backing and place the tile.
Step VI:
Roll the wall. To assure the tiles are set firmly it is important to use a roller on the finished tiles. Roll back and forth in both direction to bond the tiles to the wall.
It is best to wait 5 days before washing the washing.
Is It Worth Your Money?
Yes, absolutely! Peel and Stick tiles are not only easy to install but also a beautiful addition to your home. Plus, this is a great solution if you live in rental or if you just want to try a new look without committing to the permanent install. Peel and Stick tiles are extremely durable and maintenance-free. Before you go ahead and get your wall started, make sure you have all the right resources.
For more information, you can head over to your local home depot. They’ve got you covered.